http://www.bbc.com/travel/story/20181115-switzerlands-artfully-tedious-job
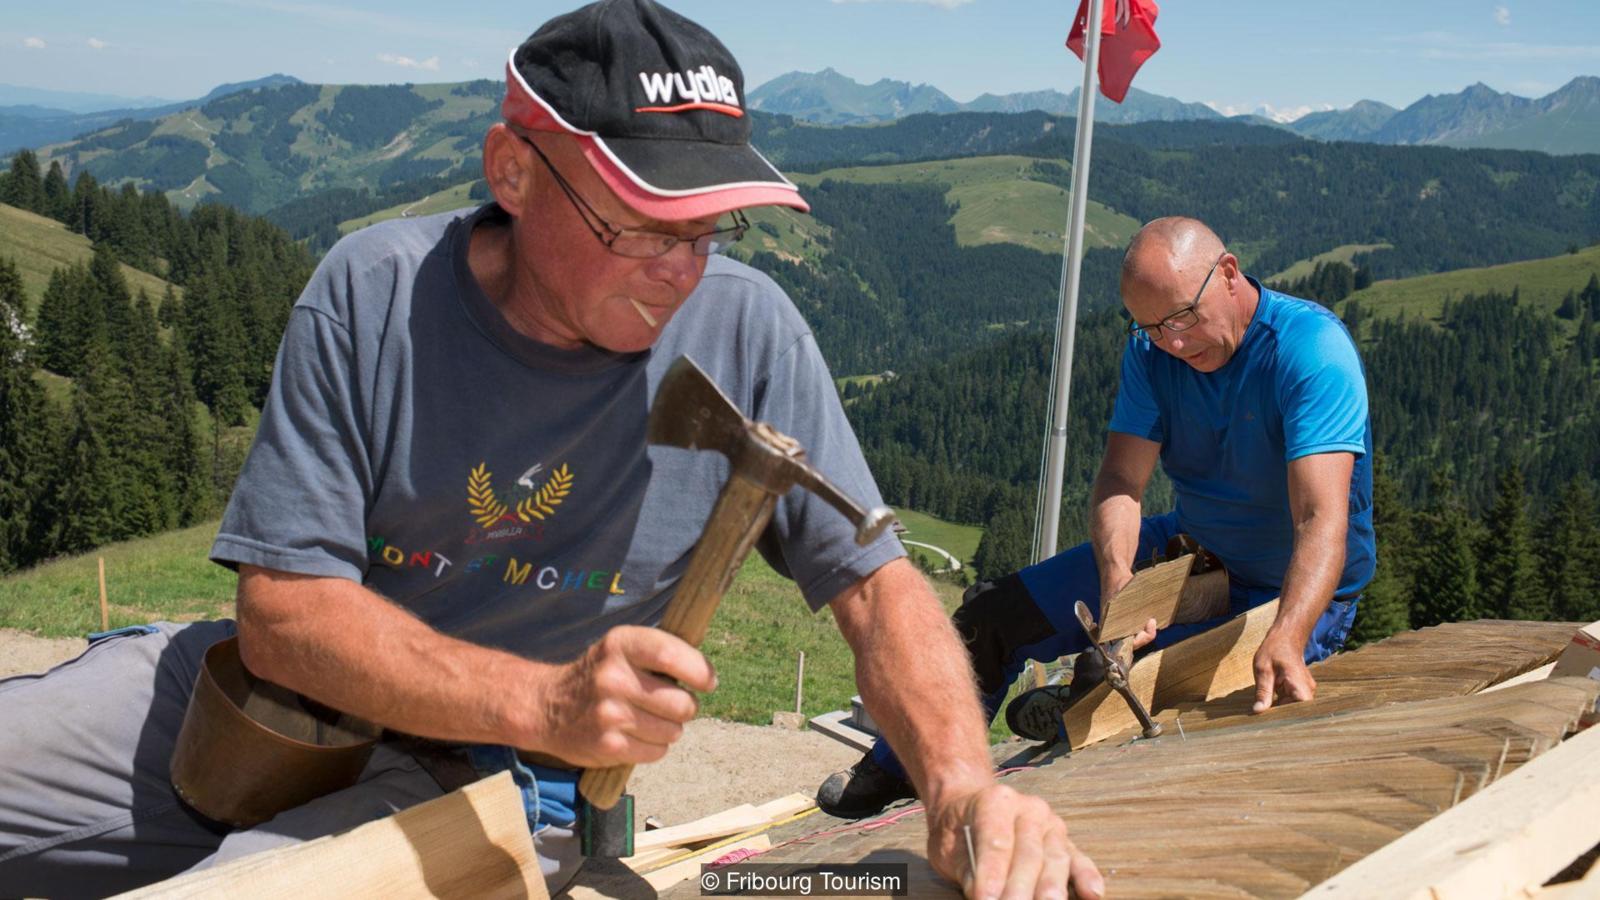
Link to Youtube video on Tavillonage: https://www.youtube.com/watch?v=4tvuIQy34M8


 The hardest part of the whole project was making the bellows. I used 1-inch thick pine for the body and followed the directions in the attached pamphlet. For the covering, I choose heavy waterproofed canvas over leather to save money. Not really thinking it through, I purchased a very reasonably priced canvas tarp that was made in India. As it turned out, the material makes a great fire starter which is not really a desirable trait for something that will spend its life around fire. As long as I am careful, it should be fine.
  I purchased the fire box from Fiery Furnace Forge on eBay, and I have been very happy with it.
 This week I’ve been repairing a log cabin for the Antelope County Museum in Neligh, Nebraska. I was told that the cabin was built as a playhouse for a prominent man’s daughter in the 1930’s.
 Thanks to the cabin being constructed out of a light wood raising it up with wedges to get the log in was easy. Once the weather warms up I will start replacing the missing chinking.


 This machine was horribly rusted and I suspect it spent a lot of time in water. After soaking in rust remover I wired brushed the metal and painted the areas black that were once coated in black japanning. The original wooden handle was shot so I turned a new one on the lathe shined up the brass and put it back together. The forming heads are pitted from rust so they tend to transfer the roughness to the tin but other than that it seems to work. Pretty good for a tool around a 150 years old.


 Some people will probably wonder why I purchased a gas forge since I already have a coal forge. I will continue to use both. I got into to blacksmithing to make hardware for the tools and furniture I make. I have found that if I only need a few items like a bolt or nails the coal forge can be a pain because it takes a while to build up a good fire and short projects tend to waste coal (the nearest place I have to buy coal is about 2 hours away). With a gas forge, all I have to do is turn a valve and I have fire. The gas forge also uses propane which I can buy in my town.
